Grand Central

January 11th, 2012

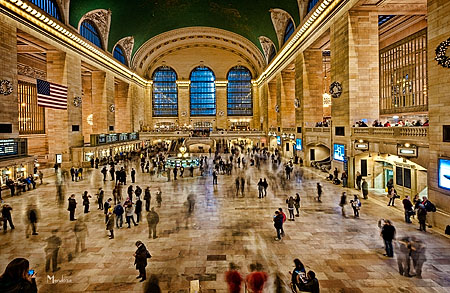
Anxious to try out my new 14-24mm Nikkor, we visited Grand Central station.  I love the “ghost travellers” caused by an extended time exposure so I invariably end up shooting a similar shot to this on each visit!  For optimum quality I selected 200ASA (the lowest on the Nikon D700), and a small aperture which gave me a time exposure of 7 seconds. The key to such shots lies in the camera remaining rock steady during the exposure. A tripod is the ideal but this is not always practical (or allowed) in such public areas. fortunately there is a wide walled balcony overlooking the main concourse, so this was a great stable “mount” for the camera.

Grand Central Station

Grand Central Station - yes, and some HDR enhancement!

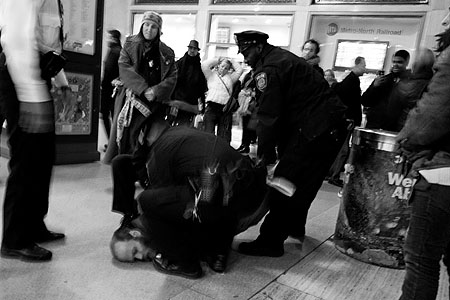
No sooner had I got the shot when a commotion broke out below me, with chanting demonstrators facing police. Unexpectedly I got the opportunity to try my hand at reportage!  This taught me two valuable lessons – in order to get a meaningful image using a really wide lens, it is necessary to get the camera right in the thick of the action! That was probably a little foolhardy of me. Secondly, you need to know your camera well enough to instinctively adjust camera settings on the fly. I was shooting by available light, so racked the sensitivity to 1000ASA; however this was nowhere near fast enough, so by the time I realised this I had probably lost the best shot.

Arresting demonstrator


The photographers’ dream store…

January 9th, 2012

On our recent trip to NYC We visited Chelsea Market.  There are numerous trendy niche outlets, offering such goodies as flavoured salts…you can taste each variety…just be careful as one variety is hot enough to make your mouth burn for ages after!

Nestling in the middle we came across a ‘pop-up’ arts collective selling everything from clothing created from zip-fasteners to paintings. I was particularly struck by the photographic work of Bryan Close (thelightdynamic.com).  One very dramatic work was shot in the Manhattan subway system, and was an ultra-wide view shot with available light.  I was fortunate to meet Bryan and discussed how the picture came to be shot…it was shot with (from memory) a 14mm lens. It is wisest if I don’t reveal how he came to be in that specific location!

Just a little shopping trip…

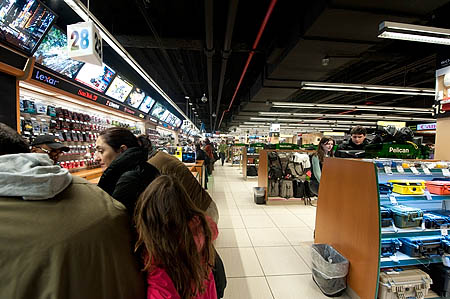
A couple of days later found us at B&H Photography store. No photographic trip to Manhattan is complete without a visit to this superstore.

B & H photography store in Manhattan

One small corner of B & H's amazing camera superstore

(The above test was shot with the Nikon 14-24mm Wide-angle zoom lens, on the widest setting, using the Nikon D700, handheld on 1200ASA)

This store is possibly the best photographic store in USA, if not the world!  Spread over three floors, all photographic gear is on sale, with a plethora of photo experts on hand.  You can play and compare the latest gadgets and gizmos to your heart’s content.

At the Nikon counter I recalled Bryan’s image, which is how I came to be playing with several monster wide angle zoom lenses, sporting front elements like fish-bowls, and price tags that don’t bear thinking about!  Despite its weight  I still managed to sell myself on the Nikon product,  so I was delighted to find a mint version of the lens  in their used department – at a significant price saving.  So now, expect to see a large number of wide-angle shots in my portfolio!

Vintage Twists – rockabilly & retro styles

January 8th, 2012

Browsing the internet I happened across a new website,Vintage Twists, selling ‘modern dresses with a vintage style’.  It felt like passing someone in the street, then realising as you pass, and do a double-take, that you know them from somewhere.  It was great to see Vintage Twists banner features several recent Retro Photostudio shoots for Limb dresses.

Vintage Twists - retro styled modern clothing

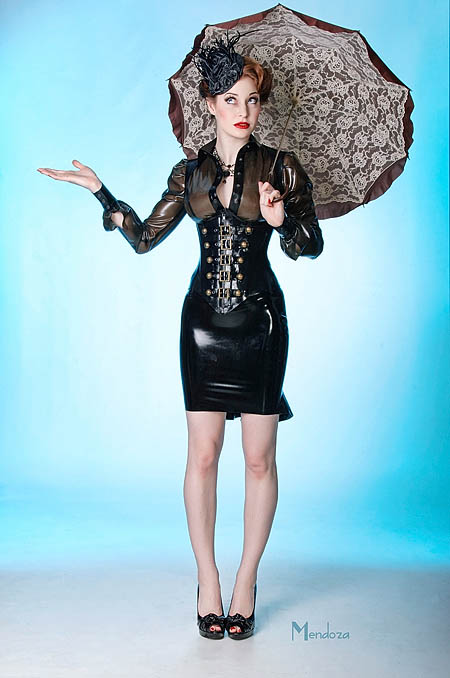
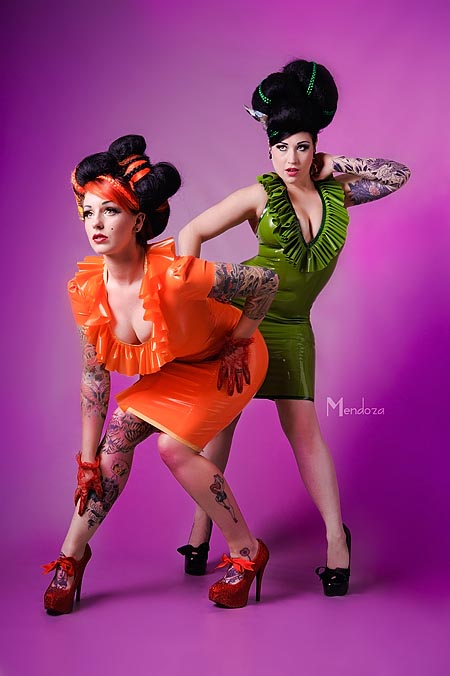
The models featured are, from left to right, Christy GouleSINderella RockafellaRuby Fortune and Miss Phoenix (then Christy again!)

I wish this very clean looking site with its selection of well-chosen products every success.

Photo tips – easy tips for better photographs

January 8th, 2012

So often I’ve heard the remark “Your pictures look good – but of course you’ve got an expensive camera”.   The reality is that a better camera will allow better clarity,  so photos can be printed out in larger sizes, but that is certainly not the essence of a good image. Getting a good photo is far more about technique than about having the biggest baddest best camera!  There are a host of really simple techniques you can apply to give your photographs the “wow” factor.

What is the subject for your photo?

There should always be a reason why you want to preserve what you are seeing in front of you when you switch on your camera. Be aware of the subject and compose your shot accordingly.

Make your subject “fill the frame”.

If it is a person – move in close, or use the zoom to fill the frame. Often, if on holiday it will be your loved one in foreign surroundings.

Elementary error: getting your loved one to stand back so you can capture the scene along with them.

Result: a scenic view with a tiny tiny family member in the background.

Instead  set your zoom to a wide setting, then get your subject to move close enough to the camera to be dominant in the frame (the wide setting should ensure the foreground family member and the scene behind are both in focus).

When taking a picture of a person, don’t leave their head in the middle of the frame – lower the camera lens a tad to bring their eyes to the top third of the frame – far more impact!

Why stick at eye level when you shoot?

You will produce a more interesting view by standing high or getting low and shooting upwards.

Taking pictures of your toddlers?

Wait until they are absorbed in play, then get right down to their eye level to shoot.

Want your models to have mile-long legs?

Shoot from their knee height!

Model blinks at every flash?

Give them a count-in to prepare them

If your model is looking out of the frame, to the side of the camera, your composition will look better balanced with a little more space on the side of the frame where they are looking…so-called ‘looking room’

A slightly off horizontal horizon looks wrong – add drama by tipping the camera much further – technically known as a Dutch Tilt.

Shooting outside?

  • Get the maximum from your camera lens by using a lens hood – it prevents unwanted light hitting the lens at an angle and creating flare.
  • When shooting in sunlight, get the sun behind your model and use your flash ( on pocket cameras there is often a setting for ‘force flash on’). Not only is it a very pleasing effect, but it overcomes the ‘screwed up face phenomenon’ where your model is squinting into the light!
  • When shooting people in overcast conditions it is also worth experimenting with using flash, especially if you can reduce its intensity a little – it will add punch to your images.

So, for instantly better photographs, instead of upgrading your kit…upgrade your technique!

Website photography promotion

January 6th, 2012

A good picture may help sales, but a great picture will really boost them. Why else would major brands hire internationally acclaimed models and photographers at significant expense to showcase their products?

Retro Photostudio now has greater capacity, so we are delighted to launch our new client promotion*.  If your business sells clothing, lingerie or accessories online this is an offer you cannot refuse!
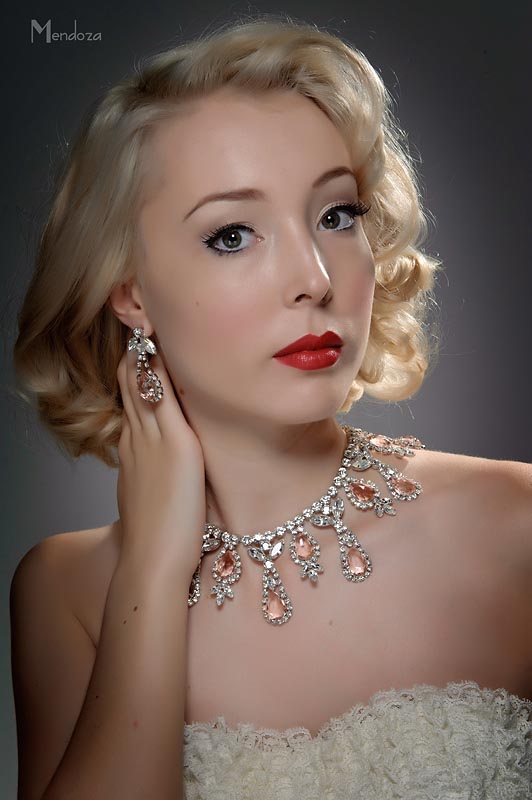
recent jewellery shoot for Passionate about Vintage


Small start-up businesses work to extremely tight budgets, so this promotion will assist them to get them established, enabling them to compete,  showcasing their work as professionally as larger companies.

New Client photoshoot promotion – save money!

New clients, booking a product shoot before 1st April 2013 (the shoot can actually take place at any mutually convenient time during 2012), will get the studio plus photography for only £20 an hour, less a first day shoot discount of fifty  percent (yes 50%!).  So an eight hour shoot will cost you four hours.

What is on offer?

The studio, near Southend in Essex, is an Aladdin’s cave of props and furniture. It features a large ceiling mounted Bowens lighting rail system, with diffusers, grids and lighting modifiers. There are two backdrop systems. There is a separate dressing room and kitchen.

A proof gallery is uploaded for you after a shoot to select those images required. Images are retouched to magazine quality, and supplied optimised in web resolution and print resolution. Retouching and optimising starts at only £4.50 + VAT per image, with discounts for larger batches of images. (Mendoza “airbrush cheesecake” retouch style by prior quotation)

Why would I make an offer that appears too good to be true? Well, client satisfaction has always been my primary goal.  By delivering top quality photography and post-production, helping the client to realise their vision, bringing the end result in within a tight time-frame and at a really keen price, my client base has been expanding, with first time clients becoming regular ones.

The studio has a large register of models, so I can also help you select the ones most suited  to your specific project. There is also the option to utilise the services of my professional make-up artist and hair stylist.

The next step?

Get in touch via email, or on either 01702 713417 or 07895 045745 and I will be happy to discuss your project, including any special requirements you may have. Some clients ship products along for photography (which can save on travel!). Remember that packaged items may require steaming/pressing to look their best; pressing is a service the studio can provide for a nominal cost, should you wish.

* This promotion is limited by studio capacity. It may be withdrawn without notice.
Airbrush make-up demo

January 1st, 2012

If you have visited the studio for a pin-up shoot, your hair and make-up were, in all probability, undertaken by the very talented Shonagh.

However her talents extend well beyond this genre – she has worked in music videos and movies – including horror!   The video below shows her using her airbrush. In her capable hands this produces remarkable effects, as this ‘taster’ shows.

Pin-up hair styling

December 27th, 2011

In a previous blog I mentioned some tips for pin-up models.  These related to posing and facial expression.   Equally important of course is the ‘look’…which as far as hair styling is concerned means victory rolls.

For a curl by curl demonstration on how you can achieve this look, check out this video by SINderella Rockafella.


Latex photo gallery

December 24th, 2011

Latex has come a long way…rubber has metamorphosed from being a niche fetish market into high fashion outfits,  often gracing the catwalks around the world.

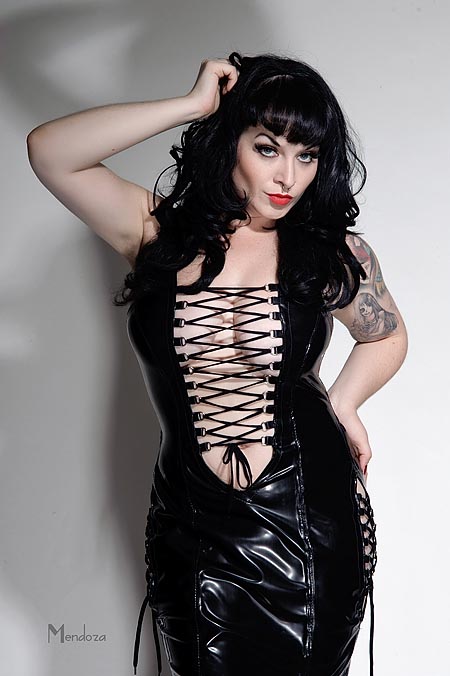
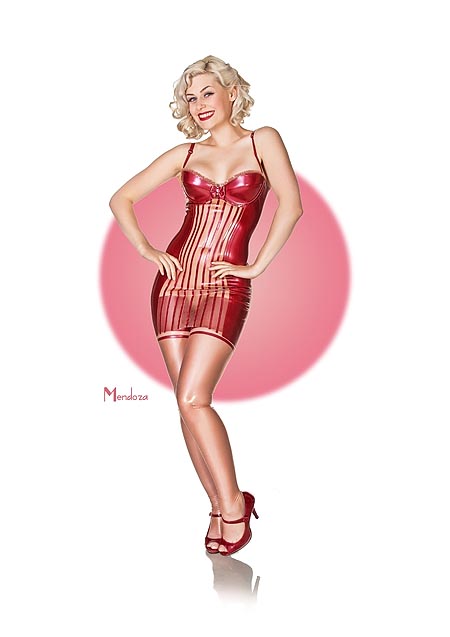
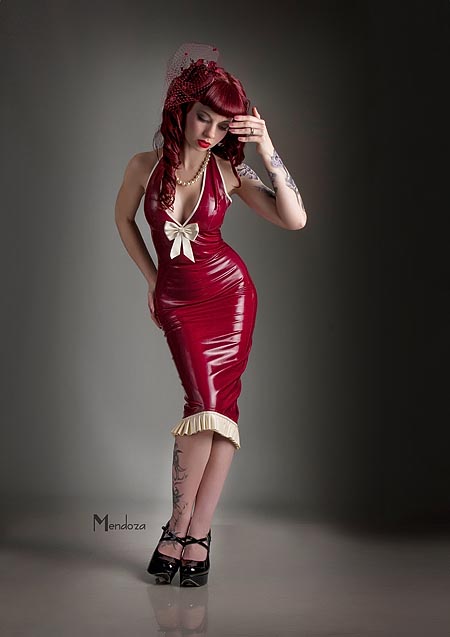
Over the past couple of years I have been privileged to be invited to photograph outfits for a number of leading designers and suppliers, so for an interesting change, in place of a lots of text,  I decided to post the small gallery of latex images below.  I have included links at the end of the gallery.

Libidex latex styling

The lovely model, singer and actress Esme Bianco modeling latex for Libidex

Aisling Gace (L) and Rayna Terror model Cathouse rubber clothing

Aisling Gace (L) and Rayna Terror model Cathouse clothing

Juliette October models Ectomorph

Juliette October models Ectomorph

Beau Rocks models Oooh La Latex

Beau Rocks models Oooh La Latex

Fae Raven in Jane Doe Latex dress

Fae Raven in Jane Doe Latex dress


Credits

(in order of images above)

Libidex modelled by Esme Bianco

Cathouse Latex modelled by Rayna Terror and Aisling Grace

Ectomorph modelled by Juliette October

Ooh La Latex modelled by Beau Rocks

Jane Doe Latex modelled by Fae Raven


Solene – cover girl

December 23rd, 2011

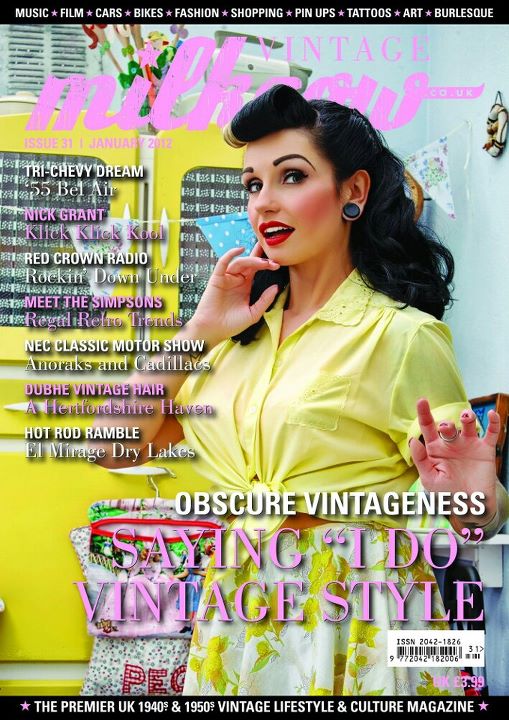
What a lovely surprise to see Solene’s smiling face gracing the cover of January’s Milkcow Vintage, when the magazine popped through my letterbox today.  The day Solene came for the shoot we really worked hard, shooting catalogue shots for Sleek ‘n Chic, and editorial images, of which this is one.

Milkcow Vintage - covergirl - Solene

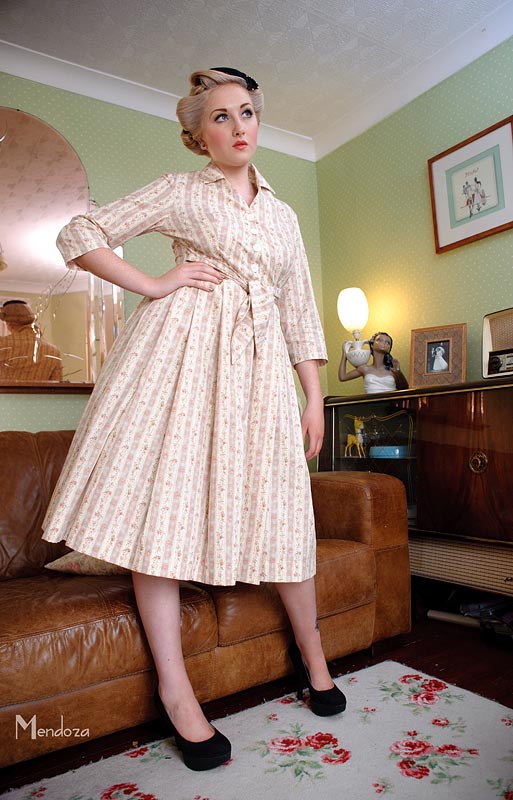
I do owe a big thank you to Caroline and Peter Tuffrey for generously allowing me to use their amazing home as a location.  When they took it over the original owners apologised for its ‘dated’ look – but it had been just what the Tuffrey’s had been looking for!

Since then they have painstakingly restored and recreated a wonderful fifties environment.  Just to give you a better flavour of the ambience have a look at the images below, shot back in July for Bamboo Bettie range of retro dresses.

Bamboo Bettie retro dresses

Pin-up Modelling – the basics

December 22nd, 2011

I so often get asked for modelling tips, particularly from novice models,   on how to get the best from a pin-up shoot so I thought I would share a few hints here.

Where is the logic?
Back in the thirties, forties and fifties, those geniuses of the airbrush like Elvgren, Vargas, Petty and Driben produced masterpieces of artwork. 

Pick any image and really study it.  The model may be pulling a face…but always for a reason.  There is a logic to each image, an underlying story. 

So many modern ‘photo pin-ups’ fail this logic test. Countless girls bending forward, eyes wide and rounded mouth expressing shock…but why?  OK, maybe her stocking tops are showing, but unless she has a reason for bending forward, say to pick something up, there is no logic to the image.

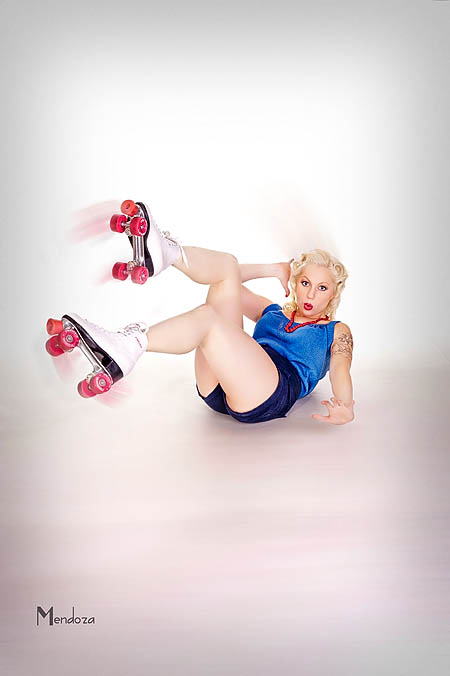
Here’s Amy Oh showing surprise/shock, but the logic is that she has just fallen on her behind!

Amy Oh - skating malfunction


Warm up is normal
Don’t expect the first ten minutes of the shoot to produce any gems.  It is usual to have to ‘warm up’, to get used to the surroundings, for a rapport to build between you and the photographer.   Save your best outfits/poses for later on in the shoot.

 Get over embarassment
In my own studio I advise models to leave their friend or partner in the dressing room.  It is one thing being in the unfamiliar surroundings of a studio and trying to pull faces for the camera.  It is ten times worse when one of your close friends is watching you too! 


The mirror is your friend
Take time at home to practice faces. You need to feel confident that you can produce a range of facial expressions.  There are two that seem to defeat most people – the first is surprise with the mouth in an ‘O’…most girls manage an ‘o’ instead!  And the second is a convincing wink to camera!

Select a few of the classic pin-up images and copy them  in front of the mirror.  Airbrush artists often photographed a live model, then accentuated and exxagerated the pose to produce elegant lines in the final image. A lot of the poses will seem awkward – and some really are downright impossible!

Holding your head right…or left!
Head posture greatly influences the final result, and here you will need to be guided by the photographer. Girls so often raise the chin, to tighten the jawline and smooth the neck.  However the result is an aloof expression and the eyelids covering much of the iris. Drop the chin and it is a much sexier look, with the eyes much more open and inviting.    A head tilt, when used to balance the composition, can be much cheekier, friendlier and attractive than the head straight on, passport style.  When in doubt, ask the photographer…or if he is not the communicative type, give him all three variations – tilt to left, tilt to right and straight on.

The most important tip – just have fun.  If there is that sparkle in your eye the camera will capture it!